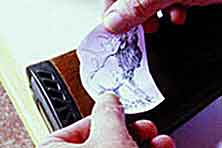
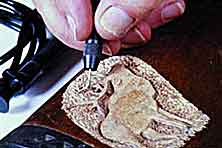
Step 1 - Create a design on a copy machine or computer printer. Computers are ideal since you can size and scale much easier than a copy machine. Apply glue stick to the back of the paper stencil then apply to wood, bone or stone. Push out any air bubbles that might get trapped under the stencil. There are other stencil options available, including solvent transfers, Mylar, water slide decals and stamps. | 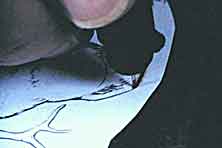
Step 2 - Using straight carbide bur, route entire outline of design to a depth of 1/8" to 1/16". Cut along the outside edge of the design. You can always cut away more material but it is impassible to add. The 1701 is good for areas with little detail. Precede with the 699 then the 7611 carbide burs as the details get finer. |
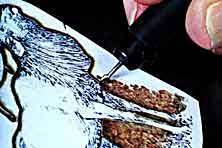
Step 3 - The #8 carbide bur is used to remove material from the background, which will leave a relief with square edges. | 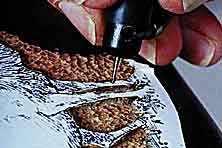
Step 4 - Use the #4 and #1 carbide burs to remove material from tighter areas like between the legs and antlers. There are different patterns you can leave in the wood. This example will have a stipple pattern. Stippling is done by moving the bur up and down, perpendicular. |
Step 5 - Use the 7611, 699 or 9903 carbide burs to engrave the major anatomical details like leg and antler details through the paper into the wood. Don't worry about the finer details like hair at this point. This is necessary because we will remove the stencil in the next step and it would be much more difficult to carve anatomy without the guides. | 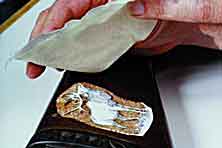
Step 6 - Lay a moistened paper towel over the remaining stencil. Let it sit long enough to dissolve the glue This is the easiest way to remove the stencil. |
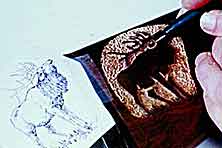
Step 7 - Tape a copy of the original pattern to guide us we now shape. Use the MM58 and MM5 diamond burs to shape the anatomical contours. The engraved details in the wood will guide you as to which details are in front of others. Round off the square corners. Study a coin and you see how the counters are carved in shallow relief. | 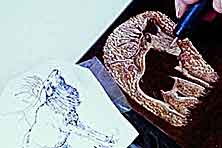
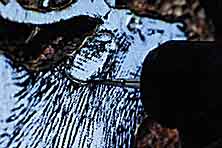
Step 8 - Using the copy as our guide we can now engrave the finer details like hair. |
Step 9 - The finishing contouring and smoothing is done with the MM3.2 or MM5 diamond bur held in a pin vise. This is a manual operation and is basically like sanding. | 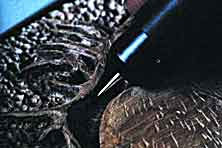
Step 10 - The edges of the entire design can be undercut using round carbide burs. This gives excellent depth and life to your work. |